

Step-by-step guide for the FUE transplant procedure
Hair loss can be a deeply personal issue, affecting both appearance and confidence. Modern hair restoration solutions, such as the FUE transplant, offer natural-looking and long-lasting results without the need for invasive surgery. If you're considering this advanced technique, here's a comprehensive step-by-step guide that explains exactly what to expect throughout the FUE Hair Transplant journey.
What Is a Smart FUE Hair Transplant?
Smart FUE is an advanced version of the traditional FUE hair transplant. It combines precise follicle extraction with Platelet-Rich Plasma (PRP) therapy to enhance healing and improve hair growth. PRP is applied to the scalp before implantation, providing natural growth factors that boost the success and strength of the transplanted follicles. The result is fuller, healthier hair and a quicker recovery compared to standard FUE methods.
What to Expect During the FUE Transplant Procedure
The Method is performed under local anesthesia, ensuring minimal discomfort. Since FUE is minimally invasive, it involves no stitches or linear scars & most patients can back to their normal activities within a few days—Step-by-Step Guide to the FUE Hair Transplant Process.
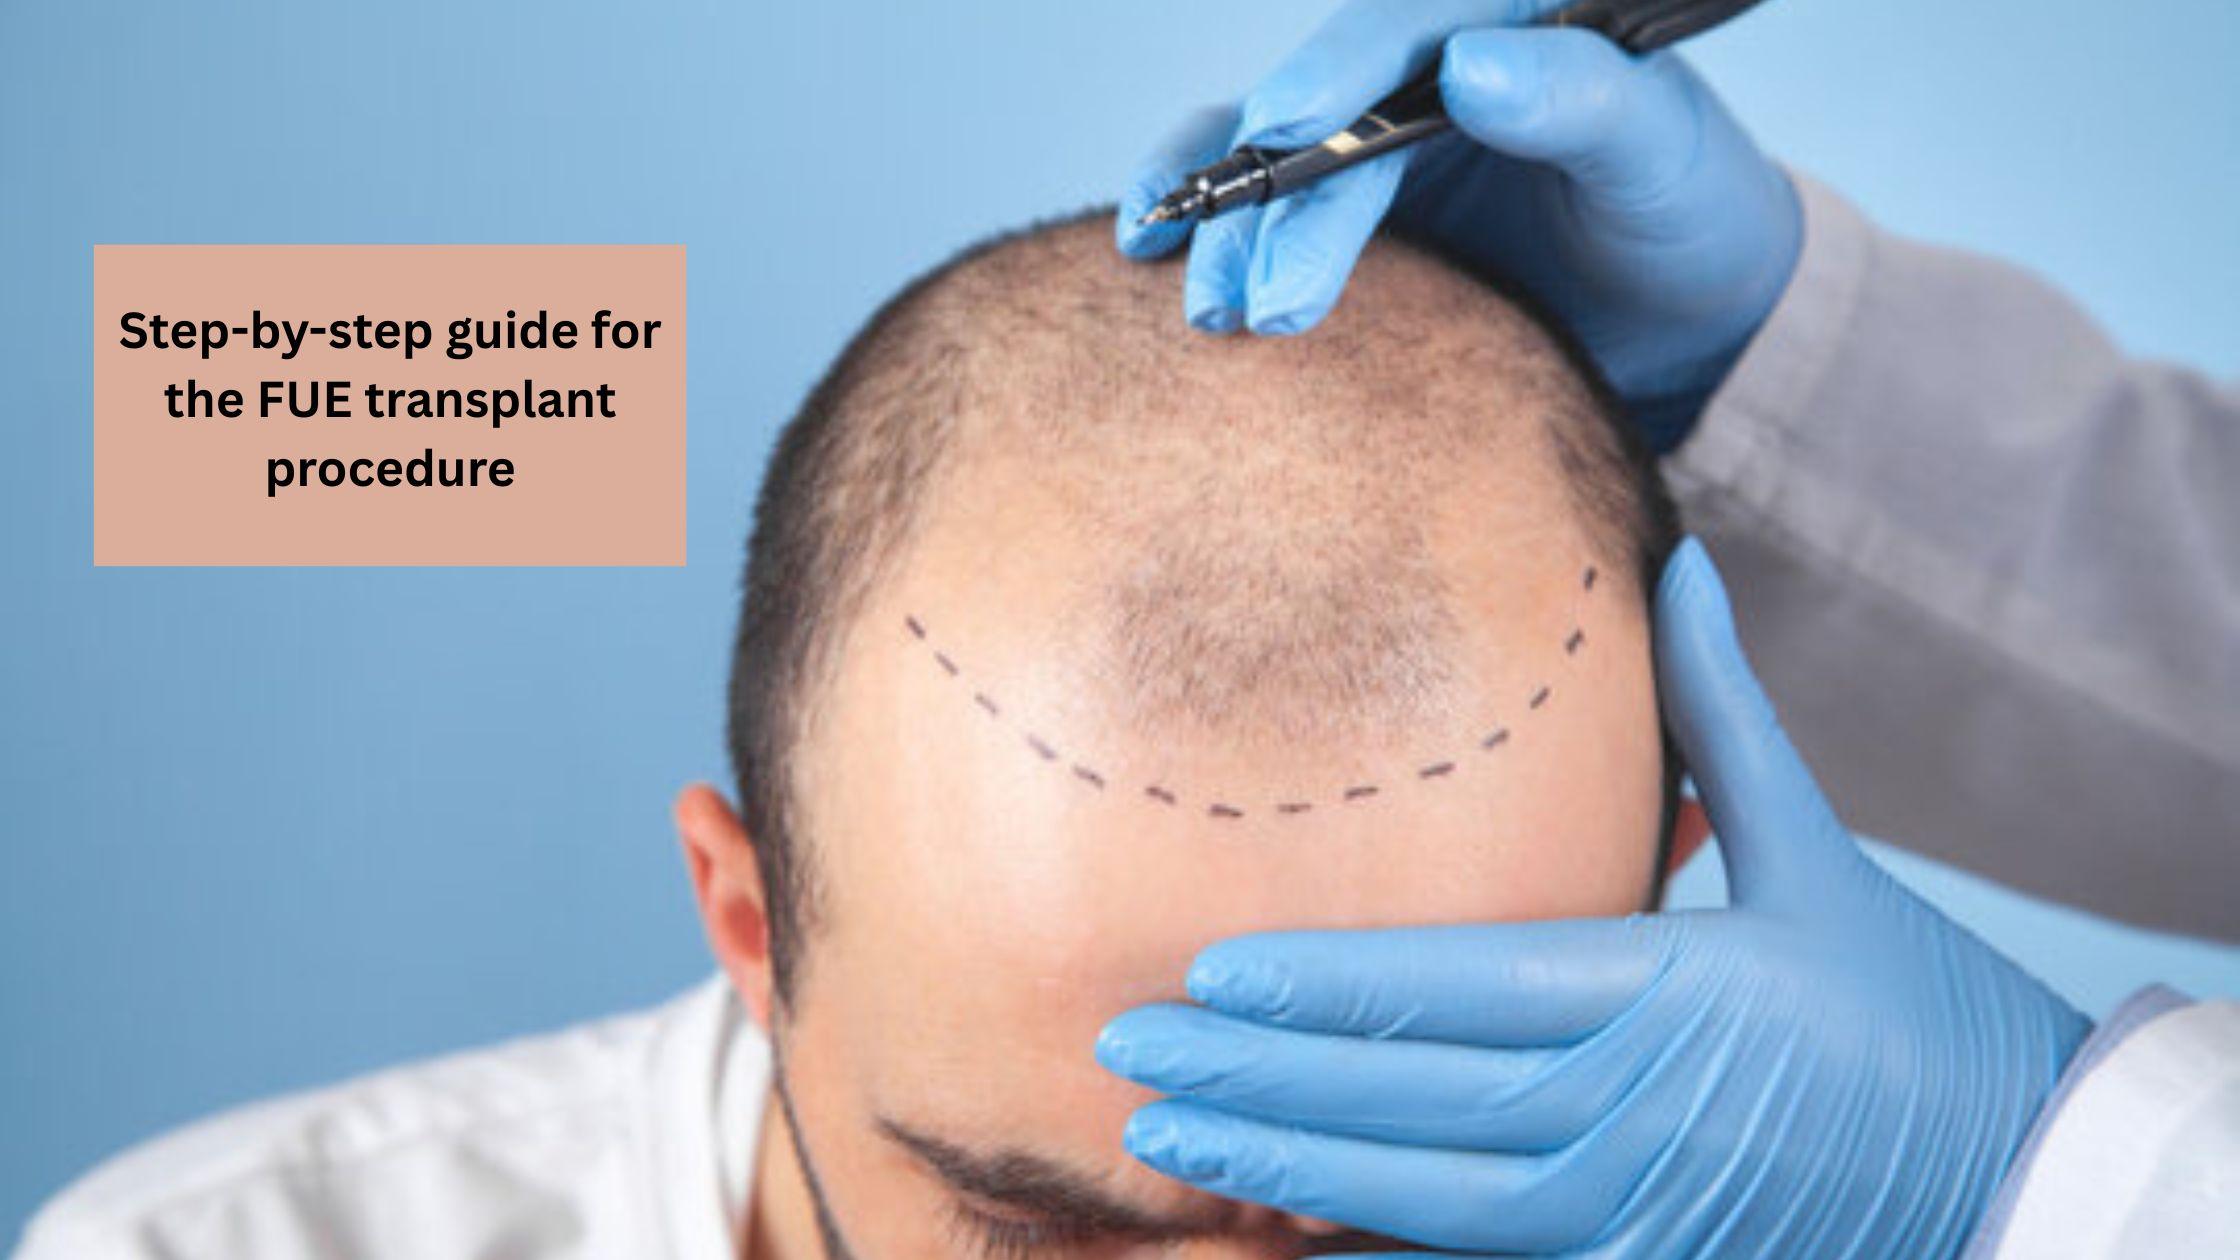
Step 1: Initial Consultation
Every successful FUE transplant begins with a detailed consultation. During this session, a hair restoration specialist will evaluate your hair loss pattern, scalp condition, and overall health. This step is crucial in determining whether you're a good candidate for the procedure. Key factors such as the density of the donor area, your hair goals, and any underlying medical conditions are reviewed. The results help create a personalized treatment plan, outlining the expected number of grafts and the design of your new hairline.
Step 2: Pre-Procedure Preparation
In the days leading up to your FUE transplant, your doctor will provide specific guidelines to ensure a smooth experience. These may include avoiding alcohol, smoking, and certain medications. On the day of the procedure, the donor area—typically the back or sides of your head—will be trimmed short to allow for easier access to the follicles. The scalp is then cleaned and sterilized. A final review of your hairline design is done to ensure precision and alignment with your aesthetic goals.
Step 3: Donor Area Preparation
With everything in place, the next step involves preparing the donor area. Local anesthesia is applied to keep you relaxed and free of pain during the entire procedure. This stage of the FUE transplant focuses on isolating healthy follicular units. Using advanced imaging and magnification, the surgeon identifies the most viable grafts, ensuring the best quality and longevity for your transplanted hair.
Step 4: Follicle Extraction
The heart of the FUE transplant procedure is follicular extraction. Using a high-precision micro-punch tool, each follicle is gently removed from the donor area one by one. Unlike older methods that require stitches or leave a linear scar, FUE Hair Transplant is minimally invasive, resulting in tiny, dot-like scars that are virtually undetectable. The harvested grafts are immediately preserved in a specialized solution to maintain their viability.
Step 5: Recipient Site Preparation
Once the grafts are ready, the focus shifts to the recipient area—the part of your scalp experiencing thinning or baldness. Local anaesthesia is reapplied for comfort. Then, the surgeon creates micro-incisions at specific angles and densities to match your natural hair growth pattern. This meticulous process plays a key role in achieving natural, seamless results after your FUE Hair Transplant.
Step 6: Graft Implantation
Next, each follicular unit is carefully implanted into the prepared recipient sites. The placement process is an art and a science. Surgeons ensure that each graft is positioned to mirror the natural direction, depth, and density of your original hair. This level of precision guarantees that your FUE transplant results blend naturally with your existing hair. The implantation phase can take several hours, depending on the number of grafts involved.
Step 7: Post-Procedure Care
Immediately after your FUE transplant, you’ll receive post-operative instructions to aid healing and maximize results. You may experience minor redness or sensitivity in both the donor and recipient areas—these symptoms usually subside within a few days. You'll be advised on how to sleep, wash your hair, and protect your scalp in the initial recovery period. Avoid strenuous activities, sun exposure, and tight hats for at least a week following the procedure.
Step 8: Recovery Timeline
The recovery timeline for a FUE Hair Transplant is relatively short. Most patients can return to work within a few days. Around 2–3 weeks post-procedure, the transplanted hairs may begin to shed—a normal and temporary phase. New hair growth typically starts around the 3-month mark and continues to improve over the next 6 to 12 months. By the one-year mark, patients usually experience the full, permanent results of their FUE Hair Transplant.
Conclusion
Choosing to undergo a FUE transplant is a transformative decision—one that can restore not only your hair but also your confidence. This minimally invasive, virtually scar-free procedure offers natural, long-term results with minimal downtime. With advancements in technology and technique, today’s FUE Hair Transplant is more precise and effective than ever before. For the best outcomes, it's essential to choose a trusted and experienced clinic. Our skilled team combines artistry with medical expertise to deliver results that speak for themselves. Ready to restore your hair and confidence? Schedule your personalized consultation with us today.
