

The Ultimate Guide to Image-to-Embroidery Conversion
You've got that perfect image - maybe it's your company logo, a beloved pet's portrait, or a custom design you created - and now you want to see it come to life in thread. But here's the harsh reality: that JPG or PNG file on your computer might as well be written in ancient hieroglyphics as far as your embroidery machine is concerned. Convert image to embroidery file isn't as simple as hitting "save as" and calling it a day.
Let me walk you through the real process of turning digital images into stitch-perfect embroidery designs without wasting hours (and piles of ruined fabric) on trial and error.
Why You Can't Just "Convert" Images to Embroidery
Your embroidery machine doesn't see pictures - it follows precise instructions about where to place each individual stitch. A typical embroidery design contains:
- Exact coordinates for thousands of needle penetrations
- Multiple stitch types (satin, fill, running)
- Sequencing that minimizes thread jumps
- Underlay stitches that prevent fabric distortion
- Density adjustments for different materials
That flat image file contains exactly none of this critical information. This explains why those "instant online converters" produce such disappointing results - at best you get a messy approximation, at worst you risk damaging your machine with poorly constructed files.
The Professional Approach: Digitizing
True image-to-embroidery conversion requires digitizing - the process of manually translating artwork into stitch instructions. Here's how the pros do it:
Start with Quality Artwork
o Vector files (AI/EPS) work best
o High-resolution PNG/JPG (300+ DPI) if vectors aren't available
o Simple, bold designs convert better than photos
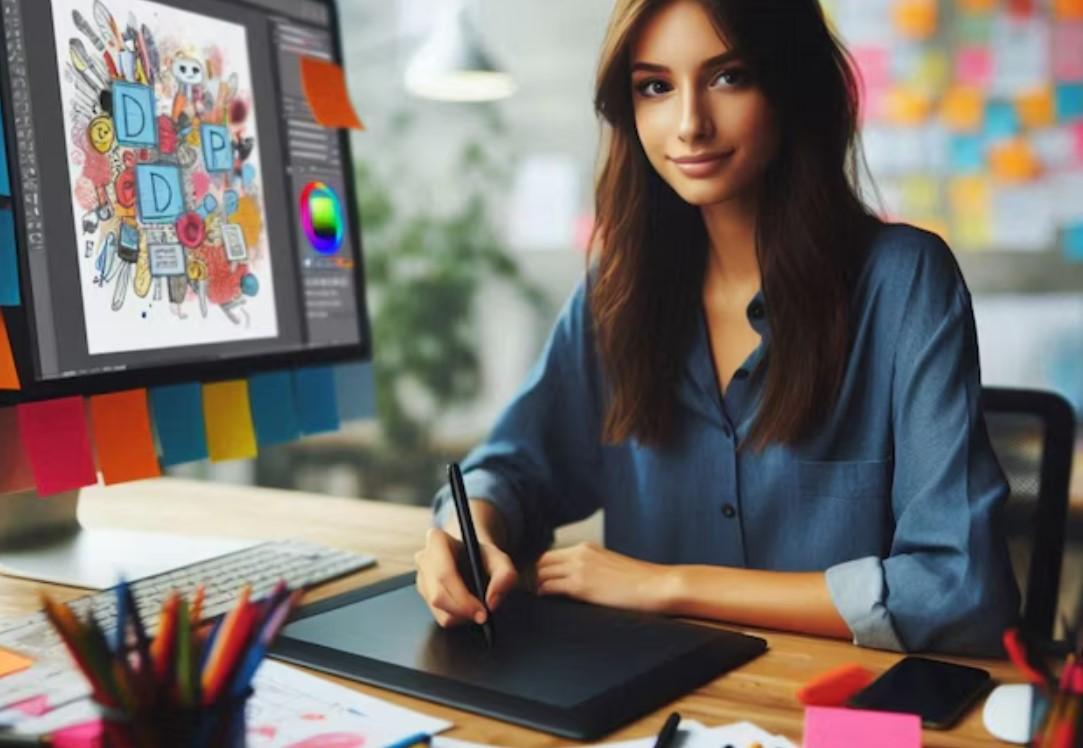
Choose Your Software
o Hatch Embroidery (best auto-digitizing with manual controls)
o Embrilliance (user-friendly with modular options)
o Wilcom (industry standard for professionals)
o InkStitch (free but technical)
Set Up Your Workspace
o Import image as reference layer
o Set proper size (embroidery dimensions ≠ pixel dimensions)
o Establish color palette
Trace and Define Stitch Areas
o Outline key elements with vector tools
o Assign stitch types to each section
o Set stitch directions and densities
Add Crucial Details
o Underlay stitches for stability
o Pull compensation for curves
o Trim points and color changes
Test and Refine
o Always stitch on scrap fabric first
o Adjust density, underlay, sequencing as needed
o Repeat until perfect
When to Use Auto-Digitizing (And When to Avoid It)
Most embroidery software includes some auto-digitizing function. These can be useful for:
- Simple shapes and text
- Quick prototypes
- Basic geometric designs
But auto-digitizing fails spectacularly with:
- Photorealistic images
- Complex logos
- Designs with gradients
- Small text/details
The golden rule? Auto-digitize as a starting point, then manually refine everything.
Professional Digitizing Services: Worth Every Penny
For important projects, professional digitizing services like Digitizing Buddy deliver superior results because:
- Experienced digitizers understand how stitches interact with fabric
- They manually optimize every element
- You get perfect files without the software learning curve
- Typically costs $10-$30 per design
Common Conversion Problems (And Fixes)
Problem: Design looks pixelated
Solution: Start with higher resolution artwork
Problem: Fabric puckers
Solution: Add more underlay, reduce density
Problem: Stitches look loose
Solution: Increase pull compensation
Problem: Excessive thread breaks
Solution: Check for too many stitches in small areas
Free Alternatives for Beginners
If you're not ready to invest in professional software:
- InkStitch (free with Inkscape)
- SewArt (limited free version)
- MyEditor (basic Brother software)
Just remember - you get what you pay for in terms of quality and ease of use.
The Truth About Online Converters
Those "instant JPG to PES/DST/EXP converters" you find through Google? They're essentially useless for anything beyond the simplest designs. At best you'll get a messy stitch file, at worst you could damage your machine with poorly constructed instructions.
Final Tip: Start Simple
Your first converted design shouldn't be a family portrait. Begin with:
- Bold text
- Simple shapes
- High contrast logos
As you gain experience, you can tackle more complex images.
Converting images to embroidery is equal parts art and science. With the right tools and techniques, you can transform any digital artwork into stunning stitched creations. Now go make something amazing!